After using few years our system seems lowering its grade compare to current models. Then we go for buy a new one. It is easy however cost effective and many time not require as well. Besides it is not sustainable for environment if it was actually not require to change that laptop or system.
So why not try to upgrade to continue use few more years happily. Let see few option we can do ourselves at our home only.
To upgrade your laptop by yourself, you can follow these general steps:
1. Determine the upgrade options: Identify the components that can be upgraded in your laptop. Common upgradable components include RAM, storage (hard drive or SSD), and sometimes the Wi-Fi card.
2. Research compatible upgrades: Check the specifications and requirements of your laptop model to ensure compatibility with the desired upgrades. Look for compatible RAM modules, storage drives, or other components based on your laptop’s specifications.
3. Prepare necessary tools: Gather the tools you’ll need for the upgrade, such as screwdrivers, anti-static wristbands, and any other specialized tools mentioned in the laptop’s documentation or online resources.
4. Back up your data: Before performing any upgrades, it’s essential to back up your important data to prevent any potential loss or corruption.
5. Follow manufacturer guidelines: Refer to the manufacturer’s documentation or online resources for specific instructions on upgrading your laptop. They may provide detailed guides or videos for the process.
6. Power off and disconnect: Turn off your laptop and unplug it from the power source. For safety, remove the battery if it’s removable.
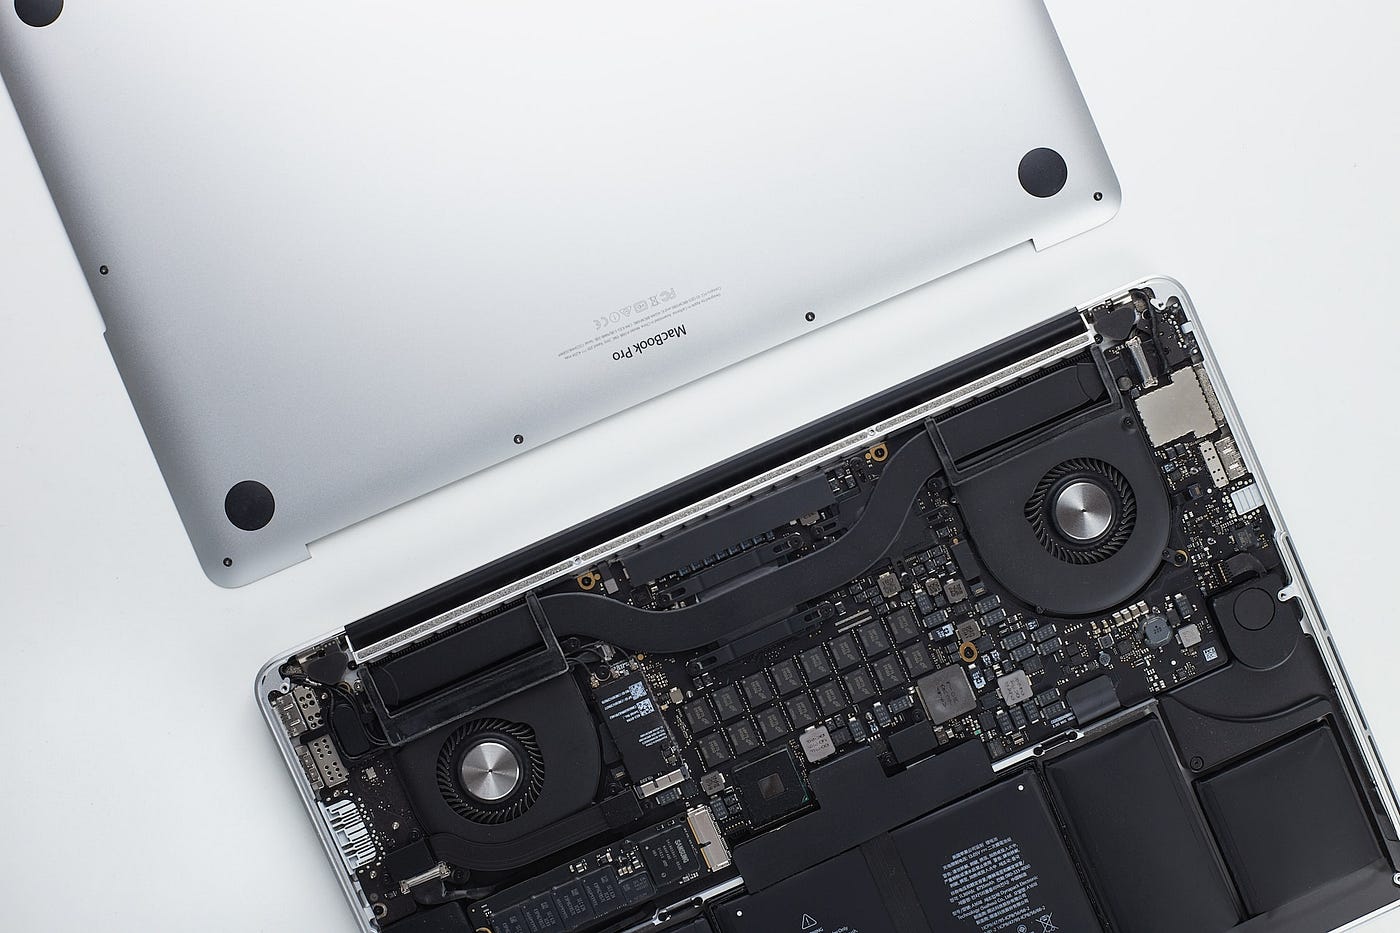
7. Access the components: Depending on the laptop model, you may need to remove a panel or the keyboard to access the internals. Follow the manufacturer’s instructions to gain access to the component you want to upgrade.
8. Install the new component: Carefully install the upgraded component, such as inserting additional RAM modules or replacing the storage drive. Ensure proper alignment and connections as per the manufacturer’s instructions.
9. Reassemble and test: Put the laptop back together, following the reverse steps of disassembly. Double-check that all connections are secure. Once reassembled, power on the laptop and test the upgraded component to ensure it’s working correctly.
10. Install necessary drivers or software: In some cases, you may need to install specific drivers or software for the new component to function optimally. Check the manufacturer’s website for any required downloads.
Remember, each laptop model may have unique upgrade processes, so it’s crucial to consult the manufacturer’s documentation or seek online resources specific to your laptop model. If you’re unsure about any step or feel uncomfortable performing the upgrade, it’s recommended to seek professional assistance.

To upgrade the RAM (Random Access Memory) in a laptop, you can follow these general steps:

1. Determine the compatibility: Check the type and specifications of the RAM modules supported by your laptop. Look for information regarding the maximum capacity, speed, and type (e.g., DDR3, DDR4) that your laptop can accommodate.
2. Purchase the new RAM: Based on the compatibility information, purchase the appropriate RAM module(s) for your laptop. Make sure to buy from a reputable source.
3. Prepare necessary tools: Gather the tools you’ll need for the upgrade, such as a screwdriver and an anti-static wristband to prevent electrostatic discharge.
4. Power off and disconnect: Turn off your laptop and unplug it from the power source. For safety, remove the battery if it’s removable.
5. Access the RAM slots: Locate the RAM slots on your laptop. They are usually accessible by removing a panel on the bottom of the laptop. Refer to your laptop’s documentation for the exact location and removal process.
6. Remove the old RAM: Gently release the retaining clips on the sides of the RAM module to free it from the slot. Carefully remove the module from the slot by pulling it straight out.
7. Install the new RAM: Take the new RAM module and align it with the slot, ensuring the notch on the module matches the key in the slot. Insert the module at a slight angle and press it firmly but gently into place. The retaining clips should automatically secure the module.
8. Reassemble and test: Put back any panels or covers you removed earlier. Once reassembled, reconnect the power source and turn on your laptop. It should recognize the new RAM automatically. To confirm the upgrade, check your system properties or use diagnostic software to verify the increased RAM capacity.
It’s important to note that these steps may vary slightly depending on your specific laptop model. Always refer to your laptop’s documentation or manufacturer’s website for detailed instructions tailored to your device. If you encounter any difficulties or feel unsure about the process, consider seeking professional assistance.
To upgrade the battery in a laptop, you can follow these general steps:

1. Determine the battery type: Identify the specific battery model and type compatible with your laptop. Check your laptop’s documentation or the manufacturer’s website for this information.
2. Purchase a new battery: Purchase a replacement battery from a reputable source. Ensure that the battery you choose is compatible with your laptop model.
3. Power off and disconnect: Turn off your laptop and unplug it from the power source. For safety, remove any connected peripherals and accessories.
4. Locate the battery compartment: The battery compartment is typically located on the bottom of the laptop. Refer to your laptop’s documentation for the exact location and removal process.
5. Remove the old battery: In most cases, the battery will be held in place by latches, screws, or sliding mechanisms. Follow the instructions provided in your laptop’s documentation to safely remove the old battery.
6. Install the new battery: Take the new battery and align it with the battery compartment. Make sure the connectors on the battery align with the corresponding ports in the compartment. Insert the battery carefully and secure it according to the instructions provided.
7. Reconnect and power on: Reconnect any peripherals and accessories you removed earlier. Plug your laptop back into the power source. Turn on your laptop and allow it to boot up.
8. Calibrate the new battery (optional): It is recommended to calibrate the new battery to ensure accurate power readings. This typically involves fully charging the battery and then discharging it completely. Refer to your laptop’s documentation for specific instructions on calibrating the battery.
It’s important to note that these steps may vary slightly depending on your laptop model and manufacturer. Always refer to the documentation provided by your laptop manufacturer for detailed instructions tailored to your device. If you encounter any difficulties or feel unsure about the process, consider seeking professional assistance.
You can find more informaton in internet including youtube. eg. https://www.wikihow.com/Upgrade-a-Laptop
Or if you have an easy to upgradable laptop then super easy to do the upgrade anytime. eg. framework
Thank you any suggestion will be valuable addition.


